

I used GPT Image 2.5 for several specific image tasks: creating white-background compositions, generating scenes from reference photos, editing parts of an existing image, and generating or translating complete graphics with text.
The examples below are organized by function. Each shows the input and result, with a focus on what changed and which visual elements carried through. Click any image to enlarge it and inspect the details.
01 · White-background composition: adjust the background and framing
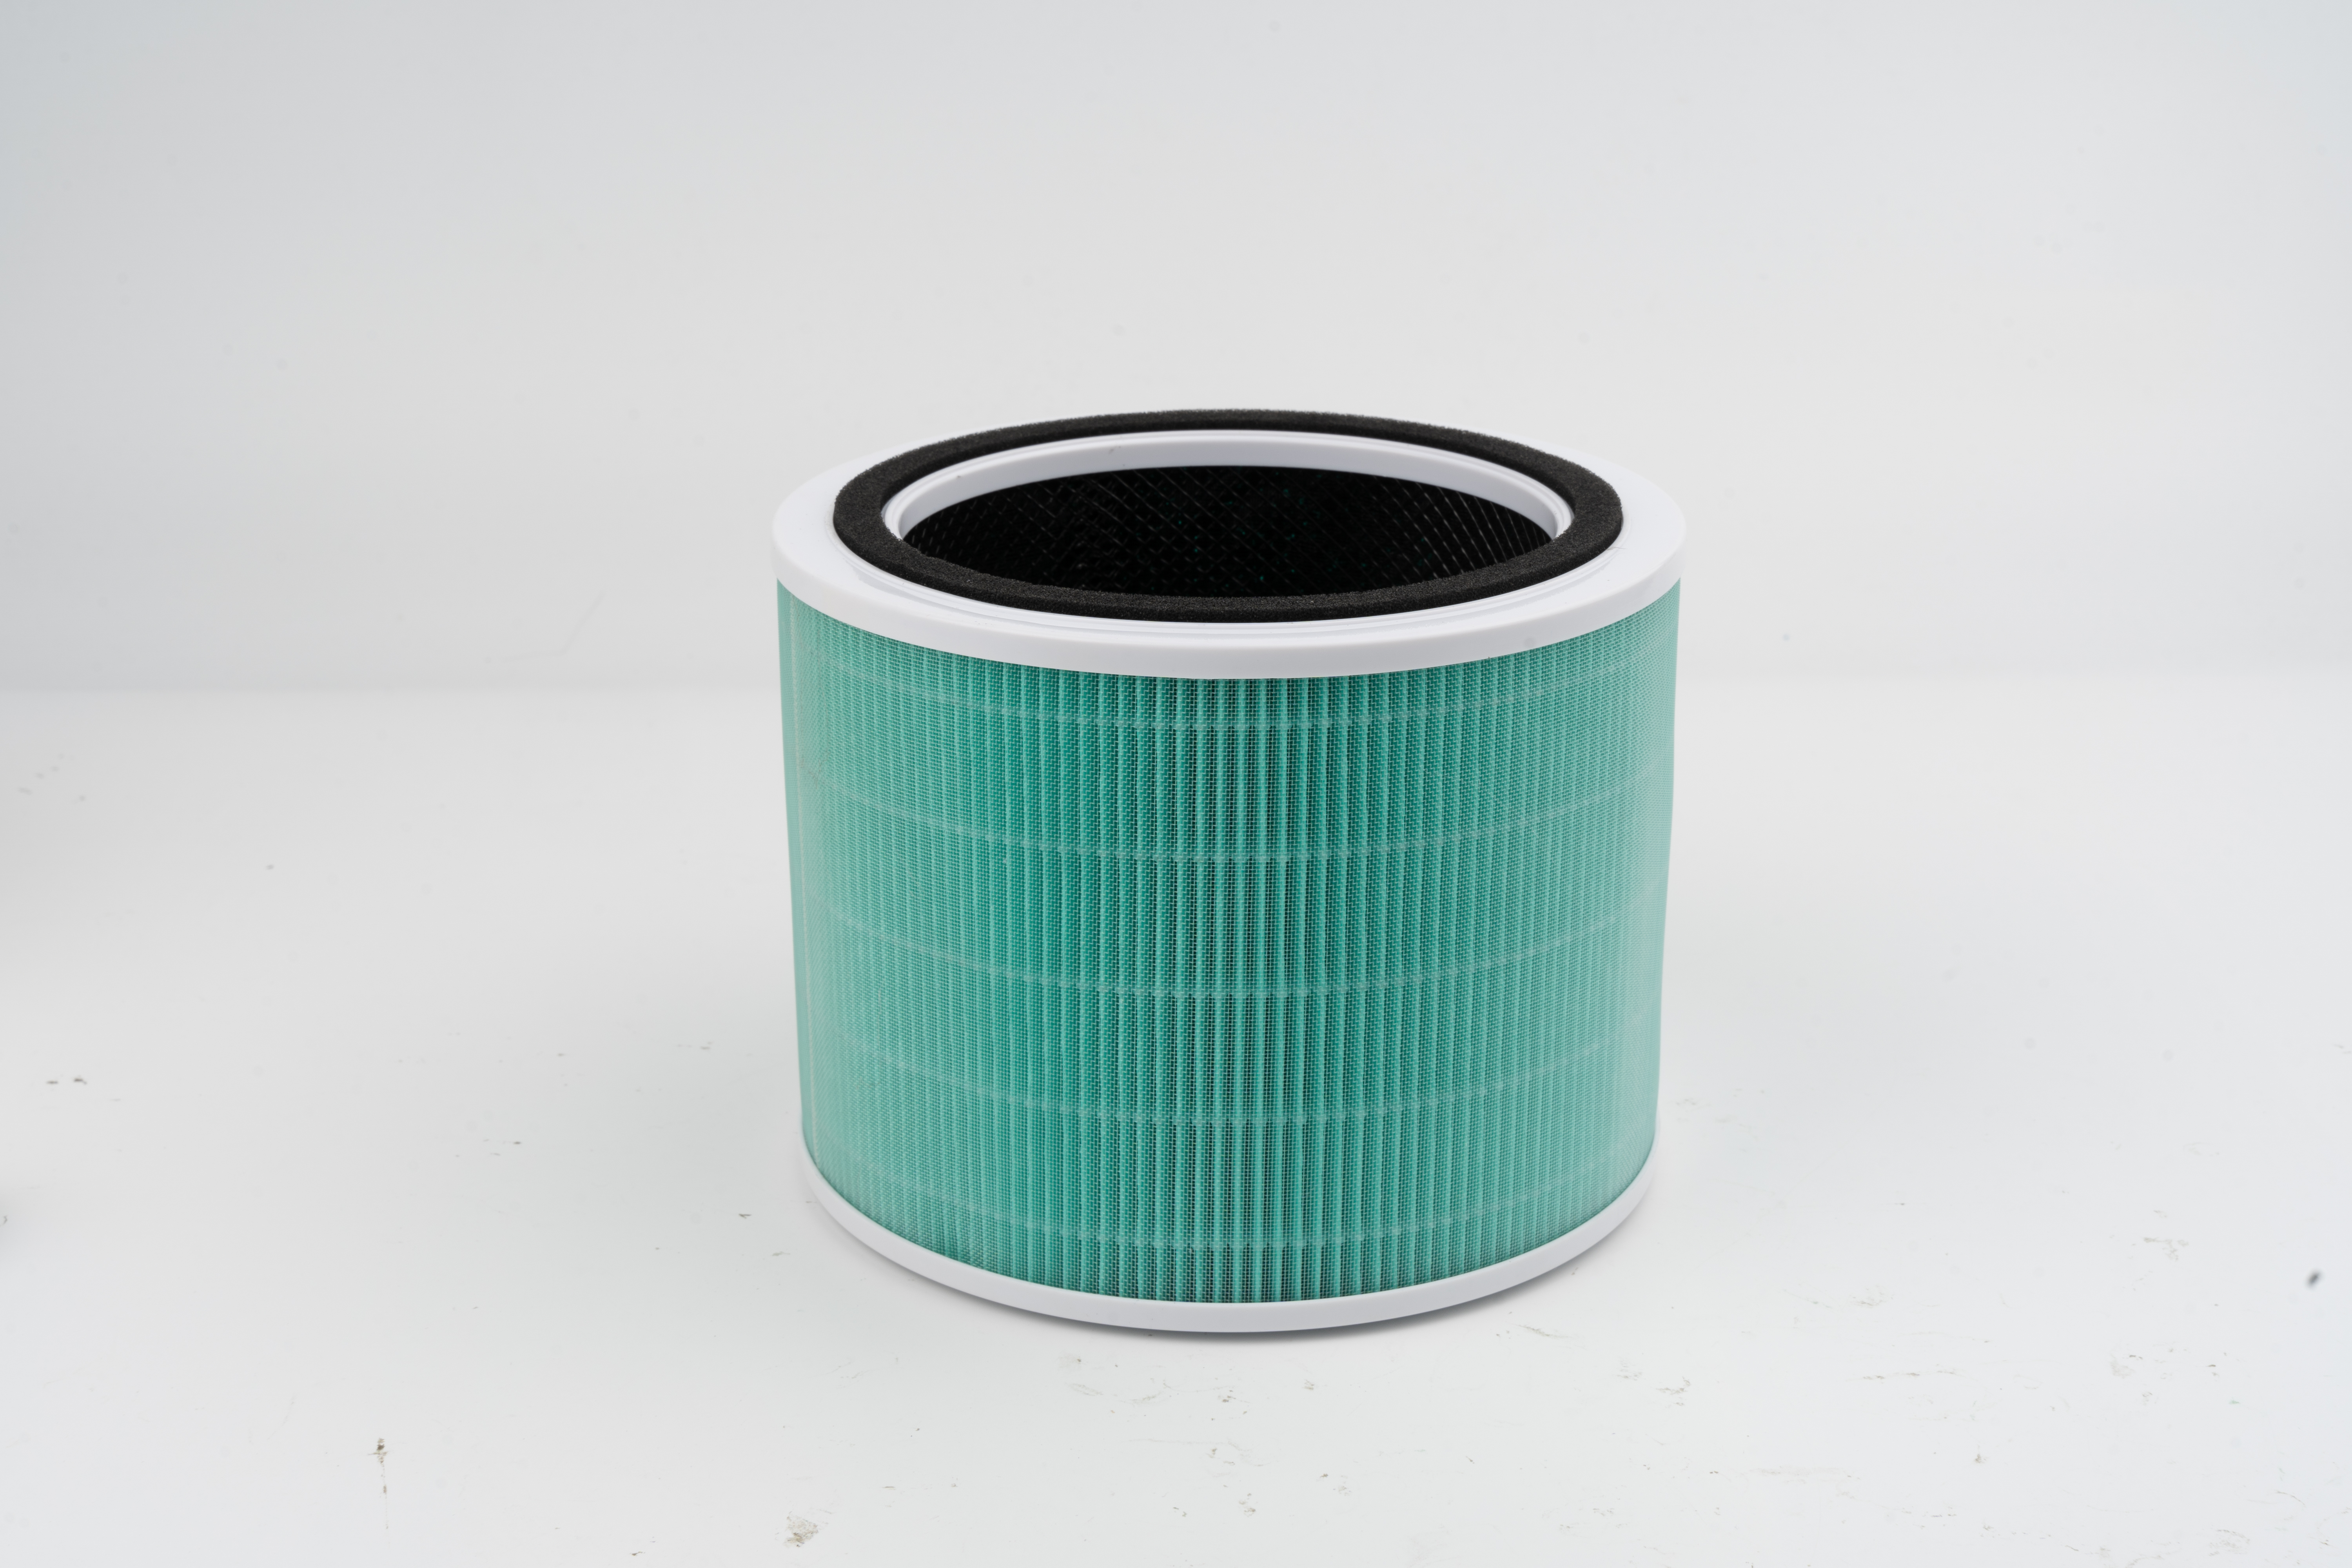
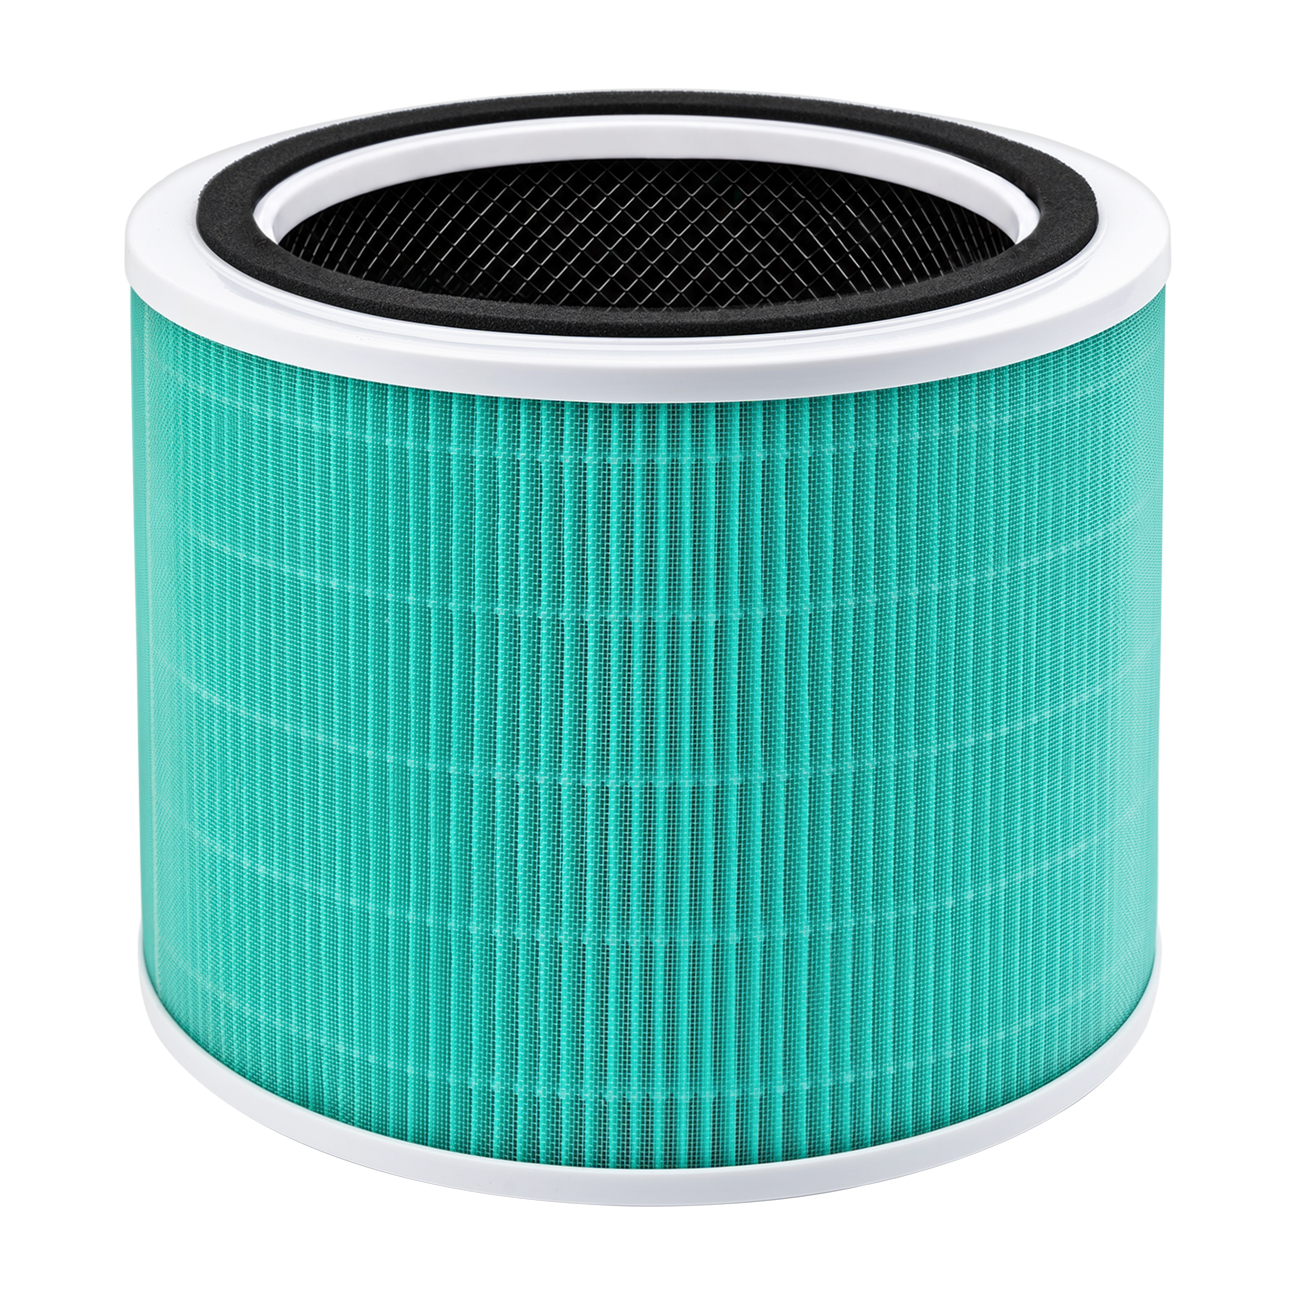
The first task was to turn a reference photo into a more focused white-background image. The original includes the surroundings from the photo shoot. The result replaces that background with white and adjusts the subject’s position and scale within a square frame.
This is a composition task based on a reference image. Compare the subject’s outline, pleated structure, and details at the top, alongside the changes to the background and empty space.
02 · Scene generation from a reference: put an object into use
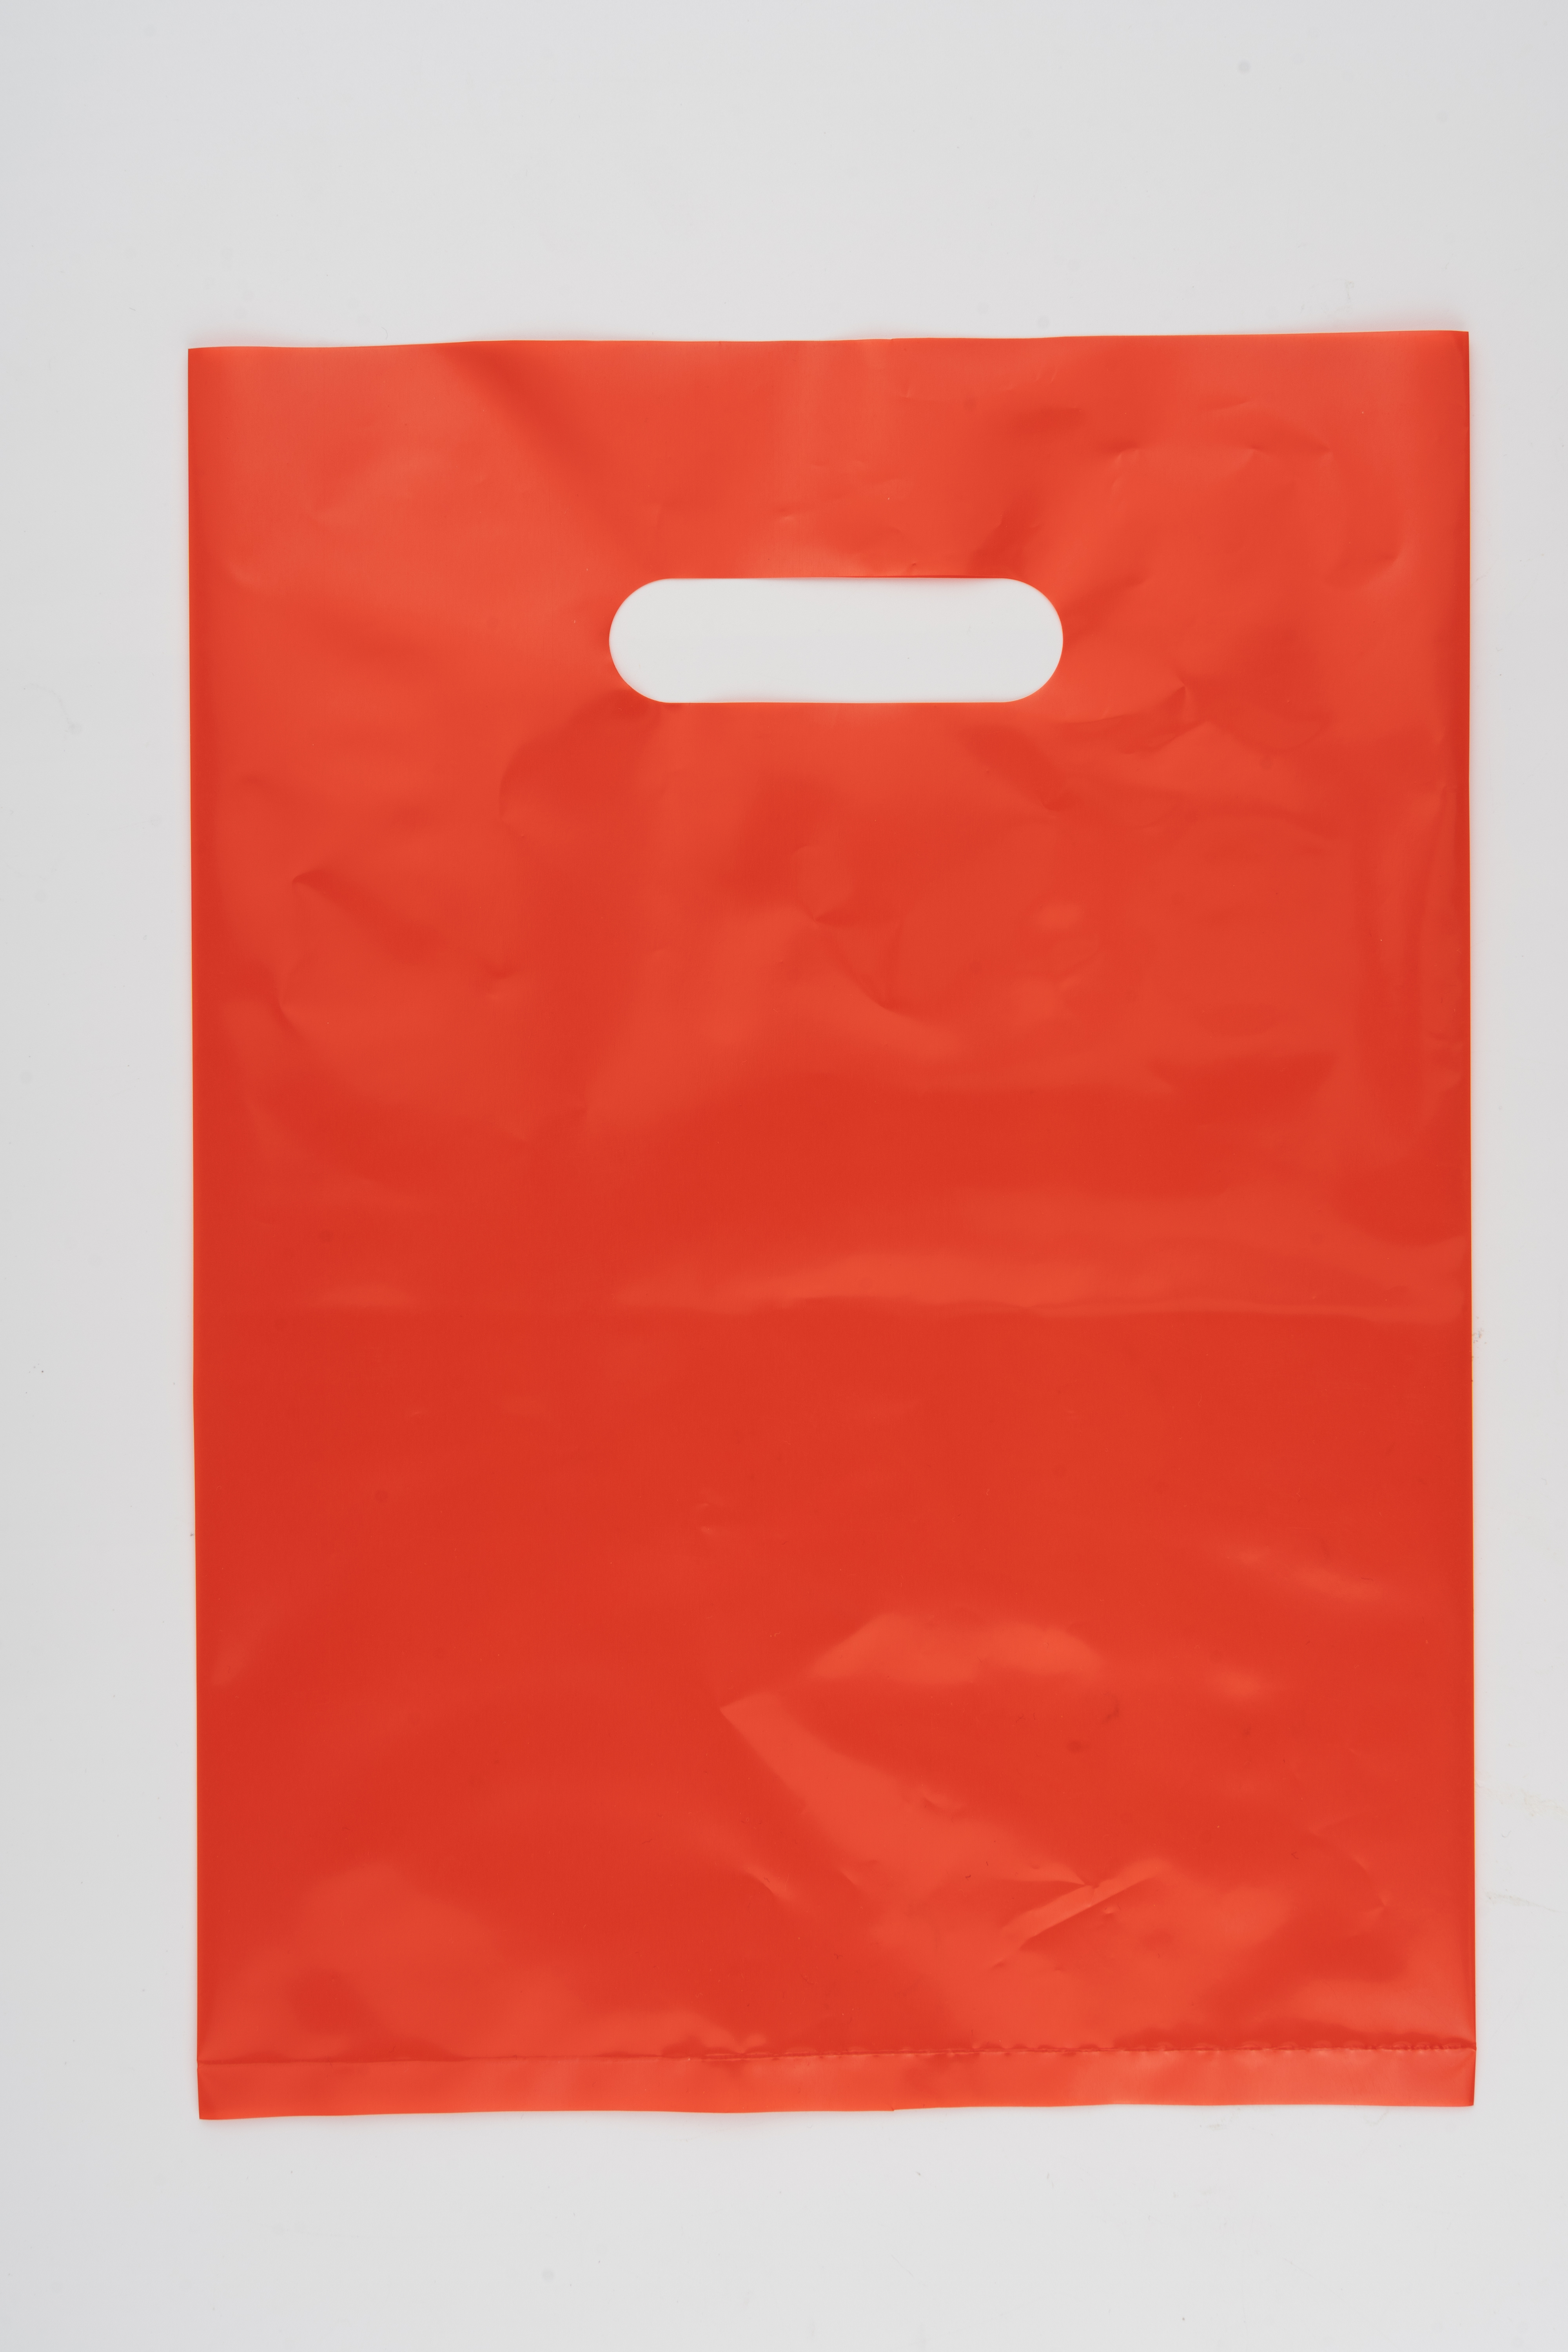
The second task started with a flat-lay photo of a red packaging bag. I used it to generate a complete indoor scene with a person and a packing action.
In the result, the bag sits on a table while a woman places packing material inside it. Lighting, tabletop props, and a room setting give the object a specific context. The useful details to examine are how the reference object fits into the action and how naturally the hands meet the bag.

03 · Local editing: change the person in an existing scene
Next, I used the scene from the previous section as the input for a local edit, changing the person in the image from a woman to a man.
This pair shows how successive edits can build on a useful image. Once the bag, table, lighting, and room were in place, I could focus the next change on the person. The result changes the person’s face and hands while carrying through the red bag, tabletop props, and indoor composition.

The sequence is “original product photo → scene with a woman → locally edited scene with a man.” Enlarging both images lets you inspect the changed area and the surrounding content together, then judge how well the edit preserved the parts you wanted to keep.
04 · Generating text and images together: compose a complete infographic
Another task was to generate a complete infographic from a product reference. In the sunglasses example, the input is a white-background product image. The result brings a main visual, headings, color options, icons, a dimensions panel, and a scene with people into one image.
The interesting part here is how the model organizes the information. A large heading introduces the subject, the main product image draws attention, and grouped panels hold the details. Color and background connect the elements, with the text generated as part of the image.
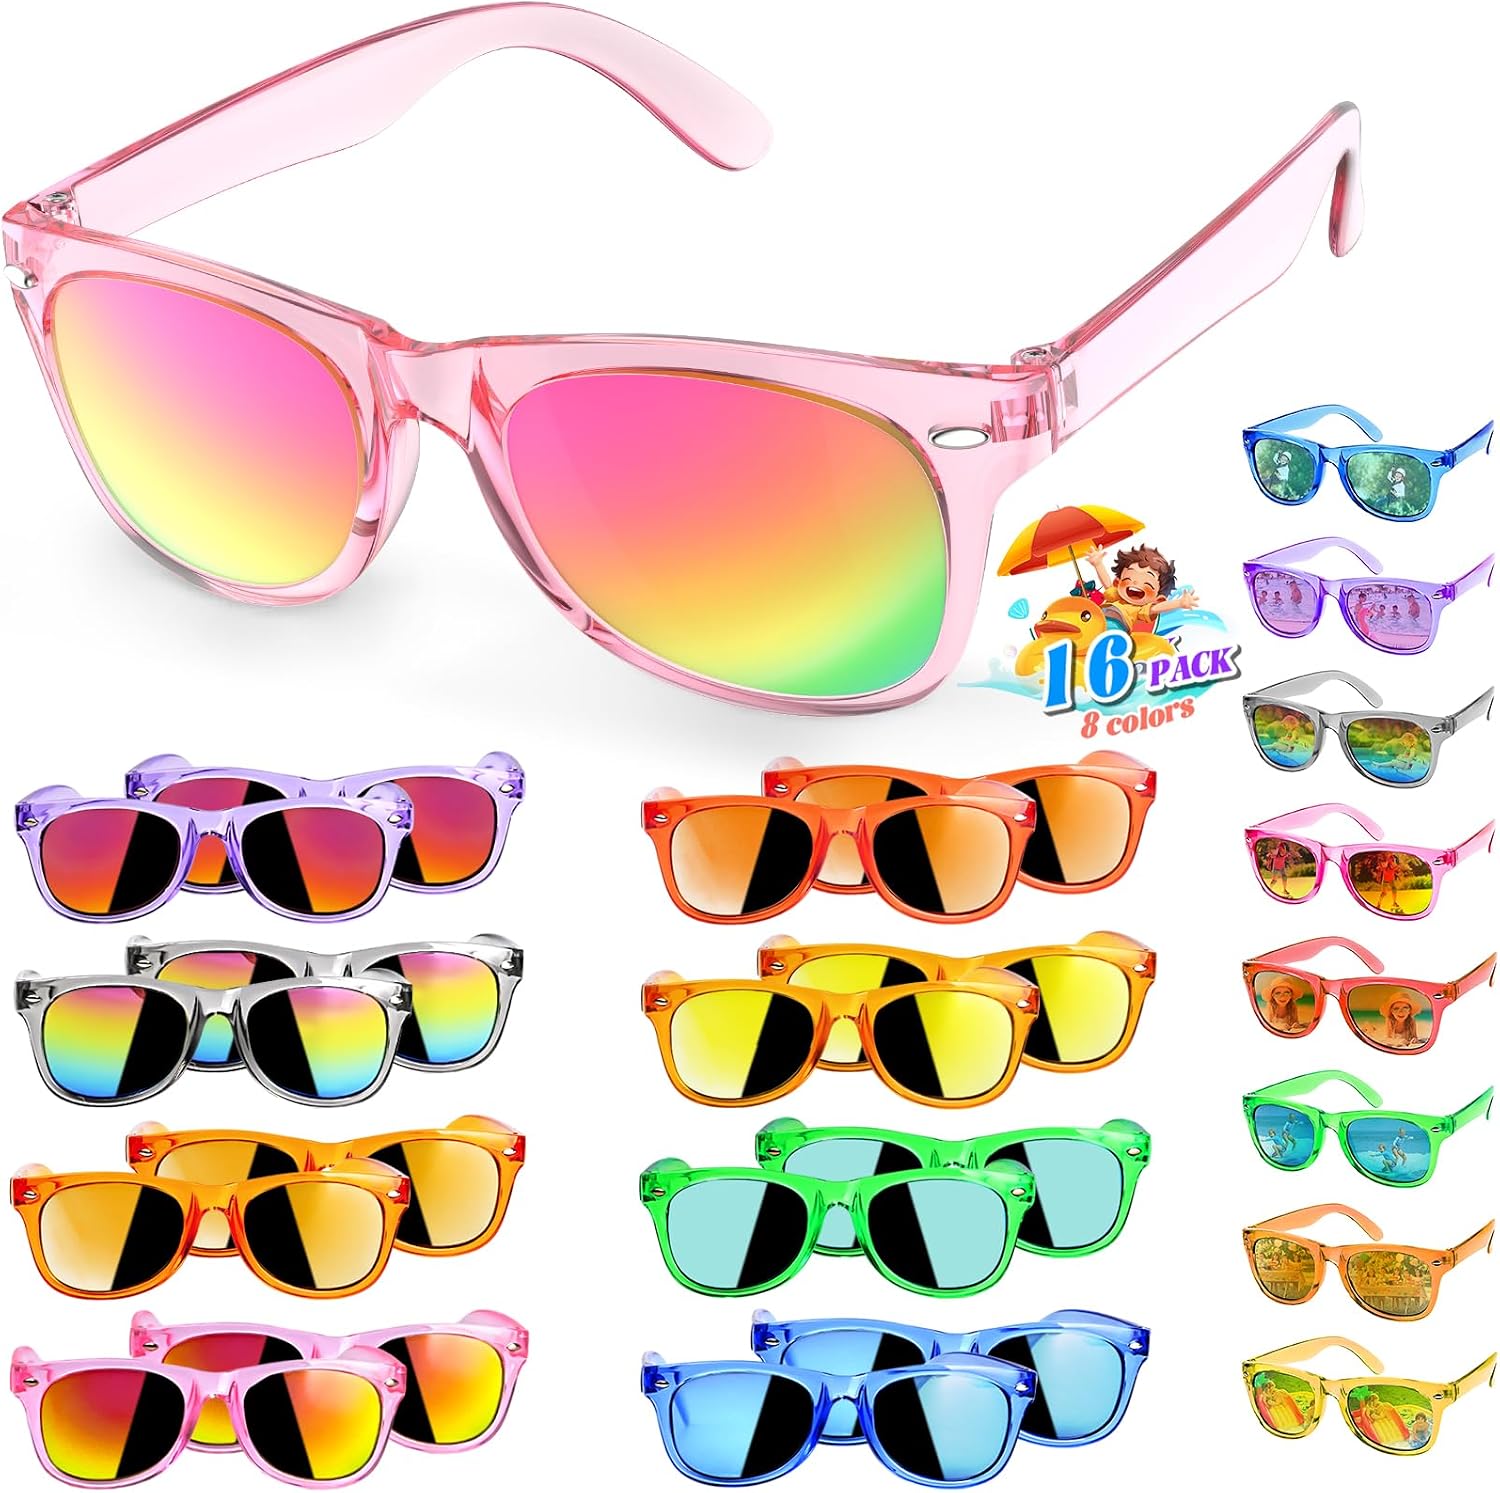
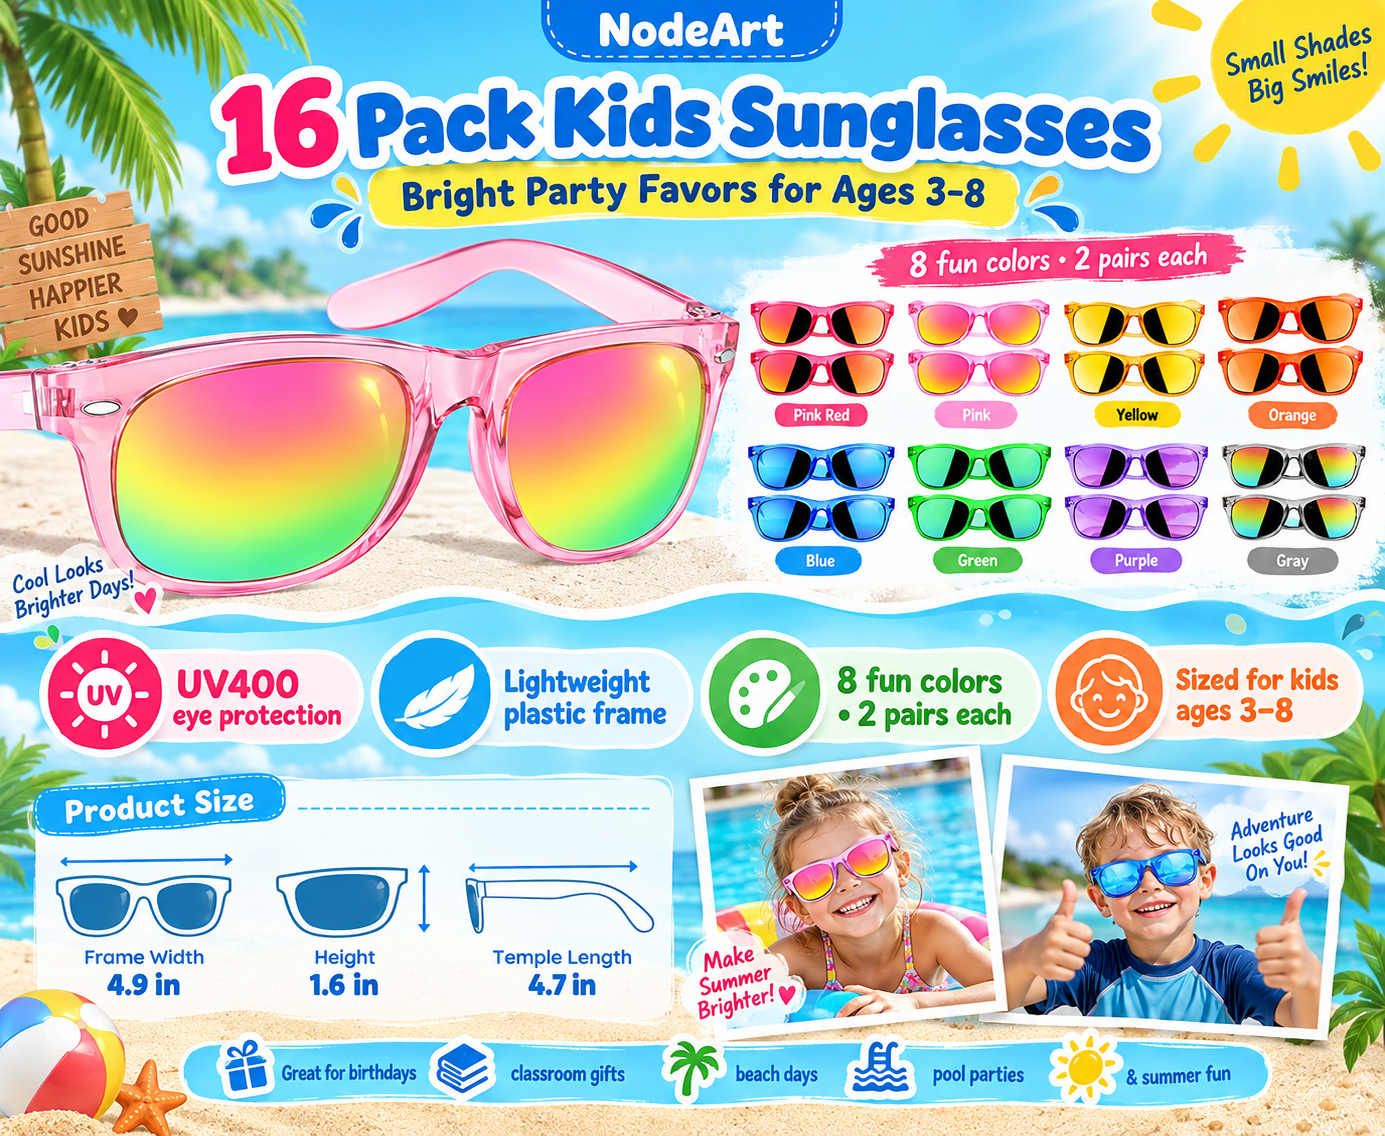
Zoom in to examine the text and icons, then return to the page view to assess the hierarchy and reading order. Numbers, dimensions, and feature claims still need to be checked against the actual product information.
05 · Multilingual image editing: turn a complete English graphic into Japanese
This example edits the text and layout of an existing image. The input is already a complete graphic with English headings, feature copy, a person, and detail panels. I used that same English graphic as the input for two separate Japanese results.
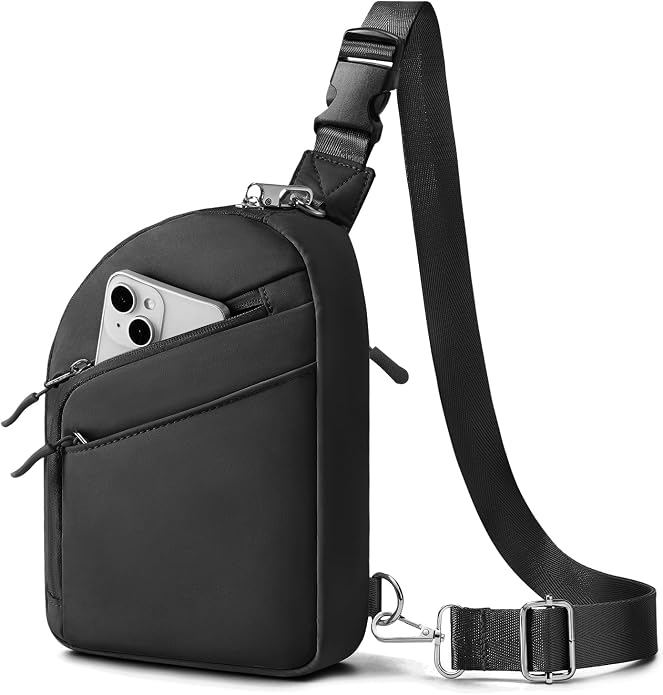
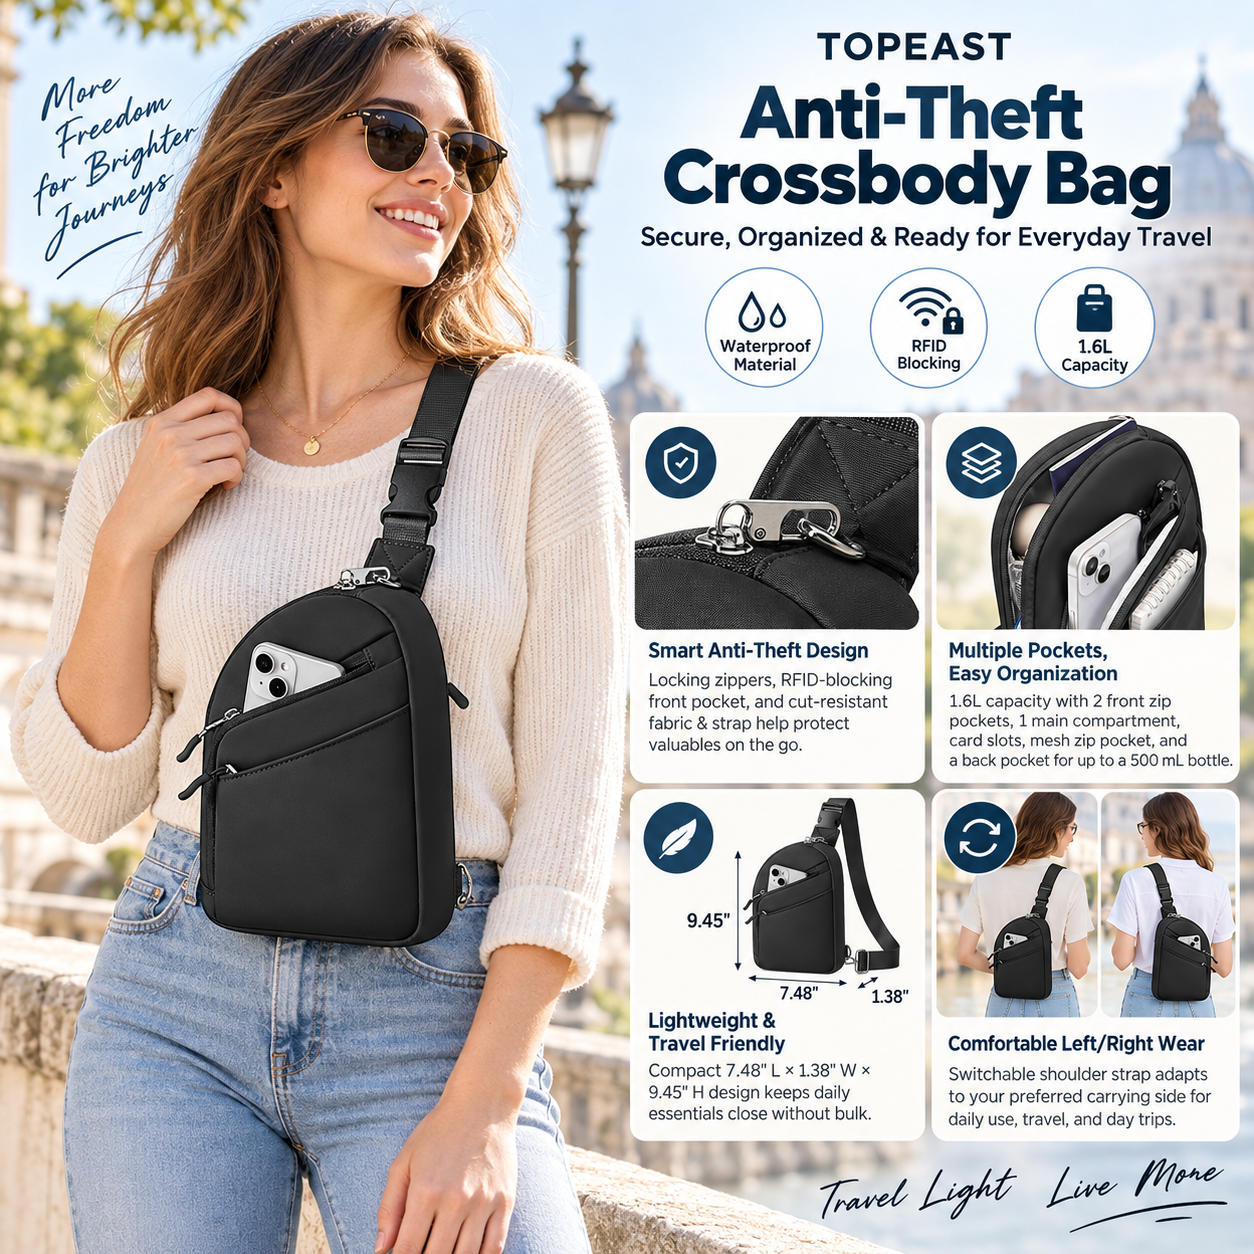
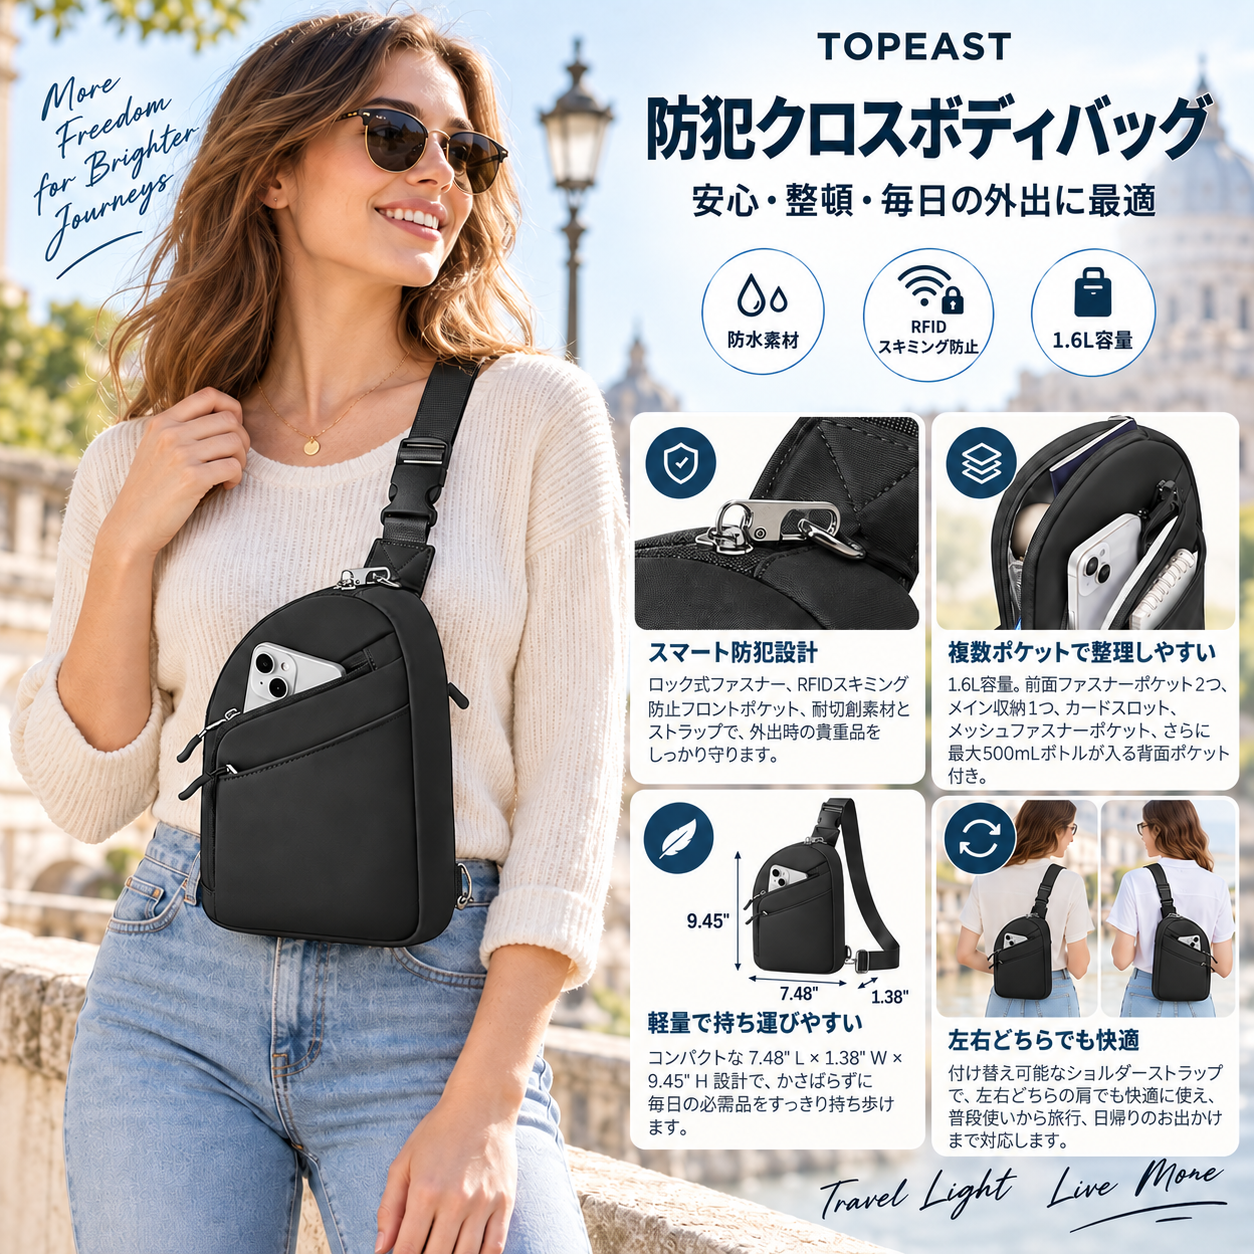
The first Japanese result continues the combination of a person as the main visual and separate feature panels. The main headings and descriptions change to Japanese. Some decorative English text remains, so the result is best described as a language change for the main copy.
06 · Layout restructuring: a different direction from the same input
The second Japanese result was also edited from the complete English graphic above. It shifts the visual emphasis toward travel and the person wearing the bag, reorganizing the Japanese copy, icons, and product details around that direction.
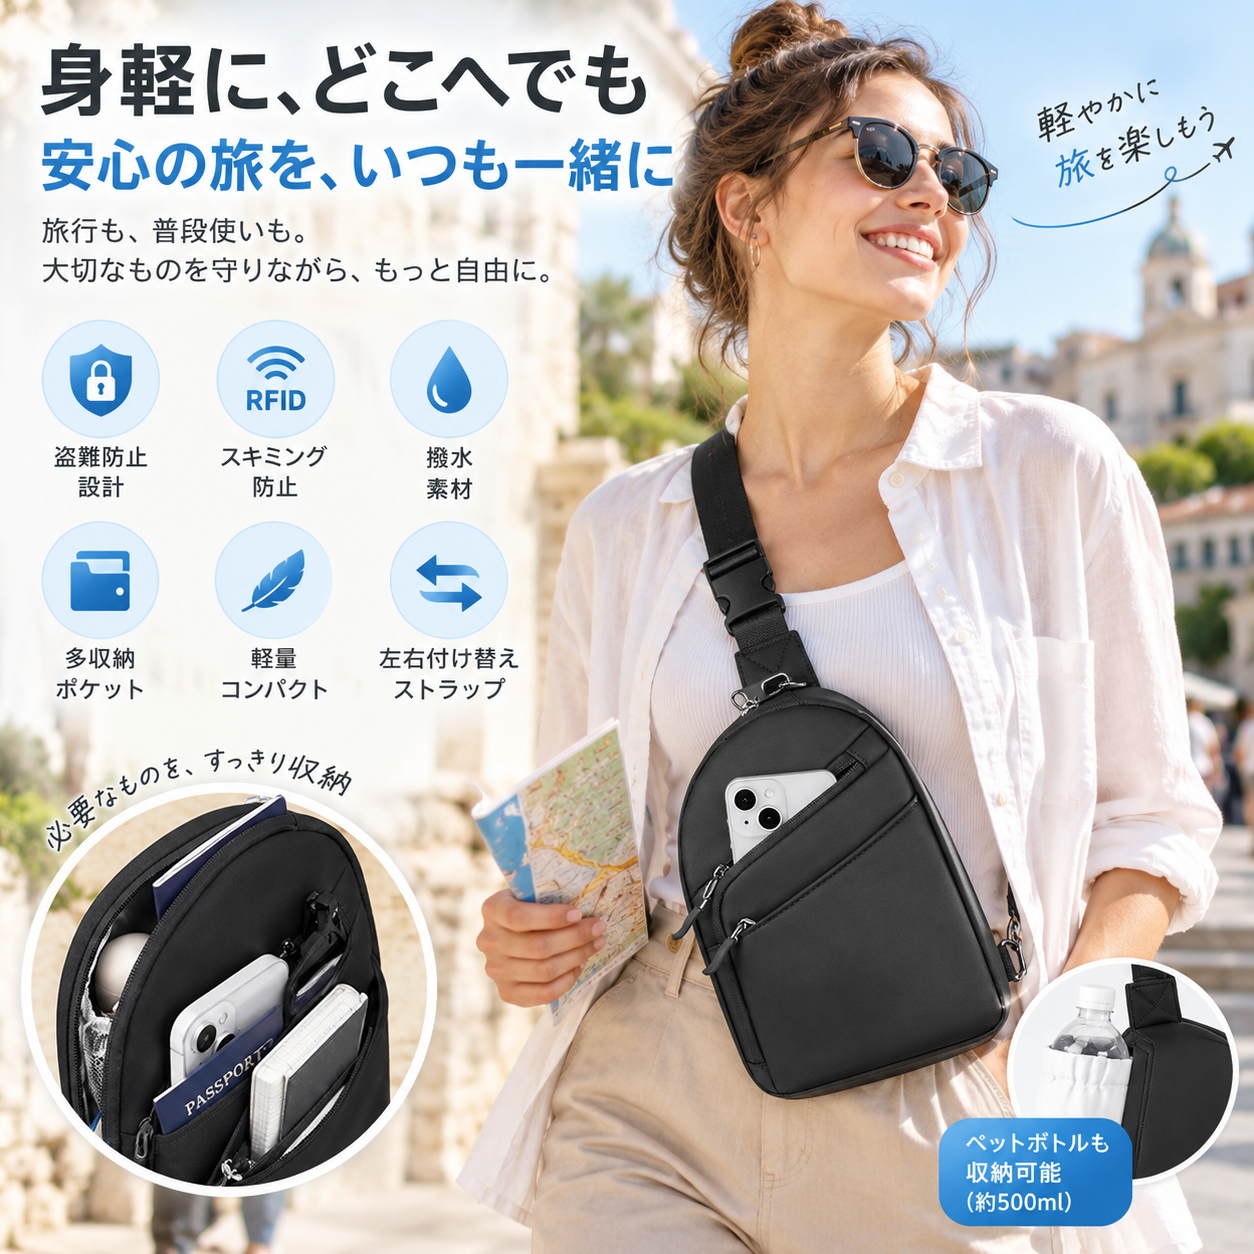
These results show two editing directions from one input. One keeps the information in distinct panels; the other gives more prominence to a travel scene. Their respective paths are “English graphic → Japanese panel layout” and “English graphic → Japanese travel layout.”
When comparing versions across languages, I pay particular attention to headings, numbers, units, and the strength of feature claims. For example, the travel version uses 「撥水」, meaning water-repellent, where the English input says “Waterproof.” Once text is part of the generated image, its meaning still needs to be checked.
How I would continue using these functions
These examples suggest a clear working sequence: start with a reference image to establish the subject, then generate the background, action, and layout it needs. When an existing image needs a change to one part, use that result as the next editing input. To explore another language or visual direction, create separate versions from the same complete image.
For general guidance on image generation, editing, and successive revisions, see the OpenAI image generation guide.